When it comes to no-makeup makeup looks, most of us know that concealer is key. It wakes up the face, has light-reflecting qualities, and hides blemishes. What many of us don’t know (myself included until recently) is that something as simple as proper concealer application can transform not only face shape but also eye shape—something we would typically leave to contouring.
I always get compliments about my eye shape and learning how to apply concealer to lift and accentuate my eye shape even further has made me so happy. I don’t take people’s compliments lightly (thank you to anyone who has ever complimented me in any way, really. ♥) Needless to say, I turn into a puddle when I’m complimented and I don’t forget your kind words.
Another point I should highlight (see what I did there?) is the importance of choosing the correct concealer shade. I always opt to buy two concealer shades: one that is an exact match to my skin tone for covering blemishes/dark spots and one that is a shade or two lighter for highlighting/covering dark circles. It’s important to have a concealer that is an exact match when concealing blemishes.
Think about it. If the lighter shade of concealer is used for highlighting, using it to cover blemishes may cover redness but will also highlight the blemish (#JustSayNoToHighlightingBlemishes). Similarly, if you use a concealer that matches your skin tone in areas that need highlighting, such as the under-eye area, you’re going to risk not having enough coverage for dark circles, making the face look too flat, or miss out on showing off the beautiful dimensions of the face.
With all of that said, be sure that you know your correct skin undertone first (you can find help doing this by clicking here to read my post about foundations). When you know your correct undertone (warm, cool, neutral, or olive), you will be able to choose your concealer shade more easily and accurately.
The next thing I want to discuss is product application. This is going to be part one of a two-part series of articles on concealer because I wanted to focus first on proper product application (Part two coming soon!). Long gone are the days of drawing ginormous triangles under our eyes. In the year 2020, less is more. We also save our coin that way, too, so I’m not mad at it at all.
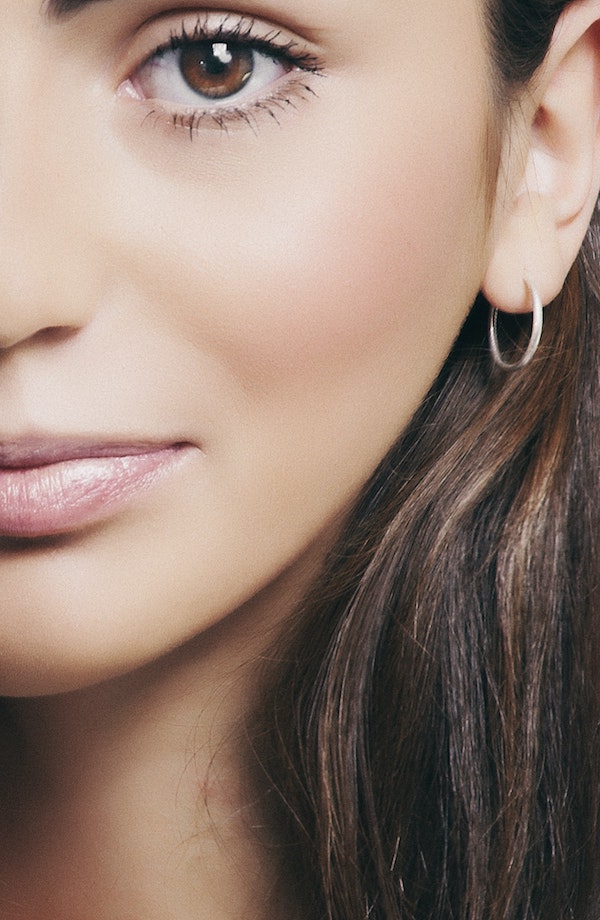
The photo below illustrates exactly where I place my concealer.

As you can see, two dots for this method of concealer application is sufficient.
After applying my two dots, I blend the concealer located at the outer corner of the eye and I blend it upwards toward my temple. This is the technique that I use to get my signature lifted-eye look.
Next, I blend the dot of concealer at the inner corner of the eye down the inner part of my cheek, closest to the side of my nose and across the under eye until it reaches and blends in with the outer corner part of the eye where I placed the other dot of concealer and first blended out. Because I placed the dot (the concentration of concealer) on the inner corner (the darkest part of the under eye), that’s where the coverage will be the heaviest. One dot on each side of the eye should be sufficient but if you ever feel like you need more, place another dot in the same place you did before in the inner corner and blend out another layer just as you did the first time but after the first layer has dried down.
Feel free to highlight other areas of the face such as the bridge of the nose, the center of the forehead, and the chin. Just remember to use sparingly. The less product used means less of a chance of cakiness once you’ve finished with your makeup application.
If you like these tips and want to try out this technique, please share your pics with me on social media! You can find links to all of my socials below. Thanks for reading!