
Sometimes, when I’m alone with my thoughts, I ask God why He decided to bestow upon me the most…interesting…of family genes—oily skin (sometimes combination skin) and large pores. Okay, that may be a little too dramatic but to know me is to love me. Besides, I am sure that my fellow oily/combo skin people understand what I’m saying.
Applying makeup to oily skin and making it last all day can be extremely difficult and oftentimes, downright frustrating. In an effort to make a long story short, I’m going to avoid delving into my usual tangents and just explain this as easily as I can (wish me luck). Oil breaks down makeup which is why it’s used in nearly every makeup-removing product on the planet. Therefore, oil coming from the skin needs to be blocked by something, an additional layer of sorts on top of the skin, in order to prevent it from reaching your makeup and breaking it down. Primers are one way of creating this much-needed barrier between the skin’s oil and your makeup. This is how eyeshadow primers work as well. They prohibit the oiliness of the lid that causes eyeshadows to fade and crease from reaching your eyeshadow, allowing it to last all day. People who also sweat a lot or live in a hot and humid climate might also find themselves in need of the same kind of barrier in order to protect and preserve their makeup.
There is one thing that oily-skin folks should stay away from, however, and that is primers that are too mattifying. Yeah, I’m looking at you, Ever-Matte Poreless Priming Perfector from Becca. Primers that overly mattify the skin only end up causing the skin to produce even more oil in the long run, making it much more difficult to get under control and maintain.
So what’s the best choice? I suggest trying out a primer that has a satin finish so that it will keep your oil under control without being overly drying. However, hydrating primers are also fine as long as they aren’t leaving your skin feeling greasy or slick. The Fenty Beauty Pro Filt’r Instant Retouch Primer is a great primer to try because it has a satin finish and awesome staying power.
Fenty Beauty Pro Filt’r Instant Retouch Primer
Unfortunately for people with super oily skin or who live in hot, humid climates, this is oftentimes not enough. I always suggest for anyone with oily or combination skin to try a primer first for everyday wear but if it is still not sufficient, I’m sure that the routine I’m about to describe below will do the trick.
Step 1
Skip Preparation
Anyone, regardless of their skin type, must begin their makeup routine by prepping the skin (after you’ve thoroughly washed your hands, of course), but this is especially true for people with oily or combination skin. A common misconception about oily skin is that it doesn’t need hydration when in fact, oily skin is almost always dehydrated skin. Excess oil production is the skin’s way of attempting to compensate for that lack of hydration. Of course, oily skin can also be hormonal or genetic (heh, heh, me) but there are always ways to help improve the skin, even if we can’t ever completely rid ourselves of our oiliness.
Begin by cleansing the face with a face wash that does not overly-dry the skin, stripping it of its moisture, and disrupting its protective barrier. Remember, if your face feels tight or dry after cleansing it, your face wash is too harsh for your skin. With the right face wash, you’ll not only find that your face does not feel like the Sahara, but the moisturizers and serums you apply during your skincare routine will work a lot better, too.
The CeraVe Foaming Face Wash for Oil Control is an amazing option and one of my absolute favorite cleansers of all time. You can check out some of my other favorite face washes for different skin types, including oily skin here.
Next up in our skin-prep step is using an oil-free, gel/water-based moisturizer. I usually skip my serums and other products before applying my makeup, just to keep product layering to a minimum, as it helps to keep makeup from looking cakey. They more skincare or makeup products you apply, the greater the chance of them looking thick and heavy on the skin.
Hydration is key for those with oily skin, as it requires a moisturizer that will really sink into the skin. There are several great products available for people with oily skin including the Youth to the People Superfood Air-Whip Moisture Cream, Versed Dew Point Moisturizing Gel-Cream, e.l.f. Hello Hydration Fragrance-Free Face Cream, and Neutrogena Hydro Boost Hyaluronic Acid Gel Face Moisturizer (Unscented).
If you’re not going to be using a foundation or bb cream that already includes SPF (I don’t suggest using tinted moisturizers for this particular routine), this is the time to apply it. I skip the hassle of dealing with the white cast that sunscreens often leave and opt for a tinted mineral sunscreen such as the Australian Gold Botanical Tinted Face Sunscreen (it has three shade options, which I love) or the La Roche Posay Anthelios Tinted Mineral Sunscreen, both with SPF 50.
Mineral sunscreen can be a bit mattifying so I still always apply moisturizer before applying sunscreen. I know some people like to one-and-done it by applying a moisturizer that already has sunscreen in it. Personally, I don’t like these types of moisturizers and I don’t recommend them for people with oily/combo skin (at least not for the face) because they typically leave a greasy film on the skin, giving the face an extra shiny look (AKA an oily-skin person’s worst nightmare).
Step 2
Powder the Skin with a Loose Powder
Okay, don’t go clicking the little red “X” in the corner just yet. And no, I haven’t lost my mind.
Watch it, I heard that.😈
Powdering the skin first before applying your foundation not only creates the type of barrier I discussed earlier, but it is also a barrier that can absorb a lot of your excess oil while helping to create a smoother-looking base on which you will apply your foundation, bronzer, blush, etc. So how to do it? It’s simple, just apply powder in the areas where your skin gets super oily. If that means your entire face, so be it. Just don’t over do it with the powder, though. A light dusting will suffice wherever you need it, and for the love of God, do not bake at any step in this routine.
I’m on a mission to remind people that baking was invented by drag queens in order to feminize the face and used more recently by people who are being filmed, having professional photos taken, or work under professional lighting. So there is a place and a time for it (I live for a good drag moment), just not for most people and definitely not in everyday makeup routines.
For most people, especially once you enter your 30s and onward, excessive use of powder is only going to dry and age the skin and we neither want nor need that now do we? And besides, have you ever seen baked skin in the daylight? Yikes.
While it may take some experimenting to find the right face powder for you (Lord knows I’ve gone through my fair share, just ask my wallet 🙄), it’s good to keep in mind that the powder should be a loose powder and the finer it has been milled, the better. Here are a few of my favorites:
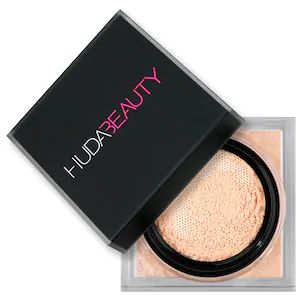
- Huda Beauty Easy Bake Loose Baking & Setting Powder – Now I know that this product is full of really bad ingredients (sorry, really), but it just performs so well and I use it nearly every time I apply my own makeup so I had to include it on my list, and thankfully, I’ve yet to have an adverse reaction.
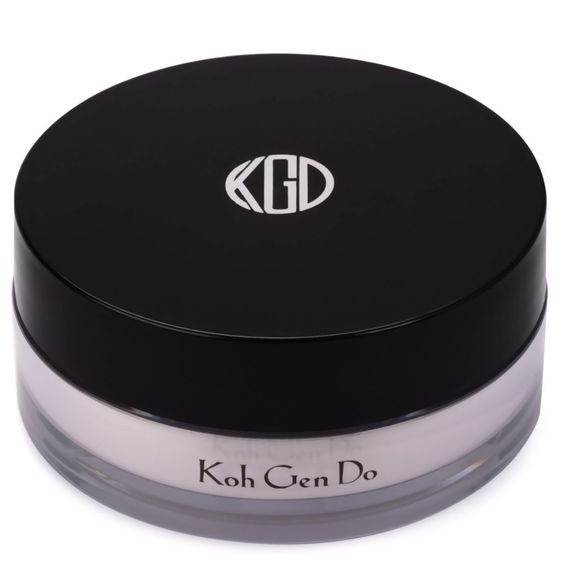
- Koh Gen Do Face Powder – This powder has actually been infused with hydrating hyaluronic acid and precious silk powder to prevent the skin from becoming dehydrated.
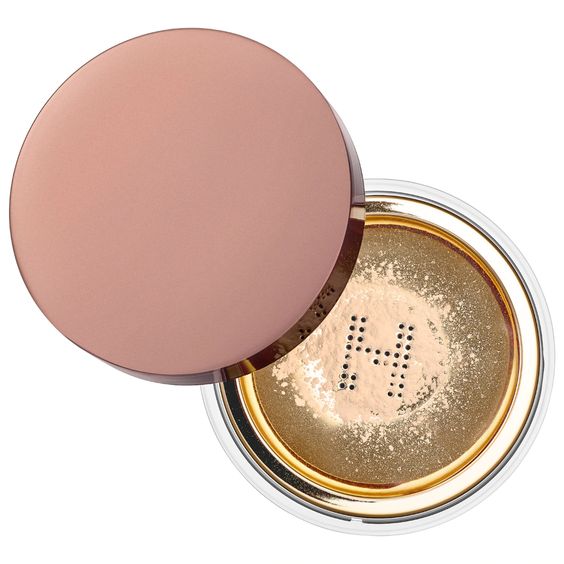
- Hourglass Veil™ Translucent Setting Powder – This powder is very finely milled and comes in a full size and a mini size for those who are just wanting to try it out or are not ready to commit to the $46 price tag. Hey, I get it. That’s why I included it.
Step 3
Apply the Foundation
Apply a liquid foundation or bb cream with a clean sponge, not a brush. It’s important to use a clean sponge aside from the fact that dirty sponges are gross. You don’t want the oil and bacteria that you had on your skin when you last used your sponge to be transferred onto the fresh, clean skin that you’re working with today because again, oil breaks down makeup. You can get away with gently applying foundation with clean fingers if necessary but I don’t personally recommend it.
Also, pat and press the product into the skin with your sponge. You shouldn’t ever wipe or swipe with a makeup sponge, but especially not while using this technique because you will disturb the powder you’ve already laid down and create the potential for a blotchy, makeup mess. The same goes for using a liquid foundation, as opposed to a stick foundation that you have to drag across the face. Cream foundations can also work but for me, using a liquid foundation consistently achieves the best and smoothest results.
Check out my top 10 favorite foundations here.
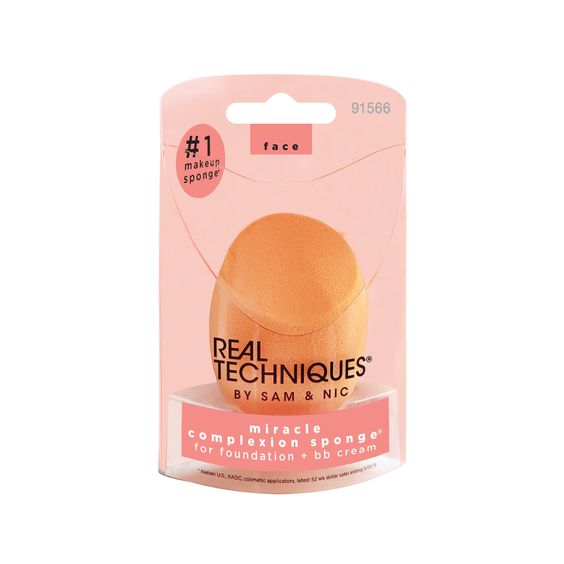
My favorite makeup sponge, hands down is the Real Techniques Miracle Complexion Sponge. I use no other. Believe me when I say it’s better than using a Beauty Blender and a heck of a lot cheaper. (Available in a 1, 2, or 4 pack.)
Step 4
Apply and Set the Rest of Your Makeup
Apply the rest of your makeup as you normally would, including setting your foundation with another sweep of powder. Setting powder on top of makeup holds it in place and protects it from the elements while the powder underneath of the foundation is doing a different job—preventing the oil from reaching the foundation, so we don’t want to skip this step.
Step 5
Finishing Up
If you feel like you’ve applied too much powder or your face is too dry, feel free to mist your face with a bit of setting spray to add a little moisture back into the face. However, I don’t personally do this. For me, it’s better to go in with a light hand when using powder, keeping a natural luminosity to the skin, rather than layering more products by having to add a setting spray to my routine. Remember, the purpose of the setting spray here is not to keep your makeup in place, that’s the job of the initial powdering that we did so feel free to forgo the setting spray altogether unless absolutely necessary.
If it is necessary, I suggest using a setting spray that isn’t too luminous. The Mac Cosmetics Prep + Prime Fix+ Matte Primer and Setting Spray can even be used in place of the initial powdering of your face for those days when you only have a few minutes to dedicate to your makeup routine. Just be sure it’s the one with the matte finish and be sure to shake it very well before spraying.
So that’s it. I hope all of you out there with oily/combo skin found this helpful. Feel free to find me on social media (find my social links at the bottom of every page on my site) and share your thoughts and opinions and your own oily-skin tips. I really love hearing from you guys and seeing you trying out and loving my favorite products.♥
Also, I want to give credit to the makeup artist Wayne Goss for the concept of powdering the face before applying foundation. I’m not sure if he invented this method but he is the first makeup artist I have seen use this technique and therefore, want to give credit where credit is due. Check out his YouTube page if you have the chance. He’s an amazing makeup artist who shares his favorite products and really useful makeup tips and tricks. Check him out here.